In this tutorial, we will learn how to export our 3D model in Houdini to OBJ and SHP formats.
We will be using the buildings generated in Houdini: Creating Building Typologies (Stock).
1. Exporting to OBJ (for visualization)
2. Exporting to SHP (for GIS analysis)
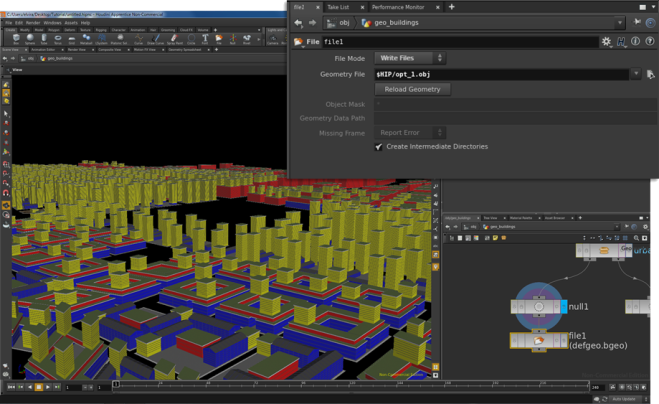
1. Exporting to OBJ (for visualization)
Insert a File node under the first output of the Urban Type 1 node.
Select Write File as the File Mode and type .obj as the file type in your desired directory.
Click on the Display flag of the node to write the file.
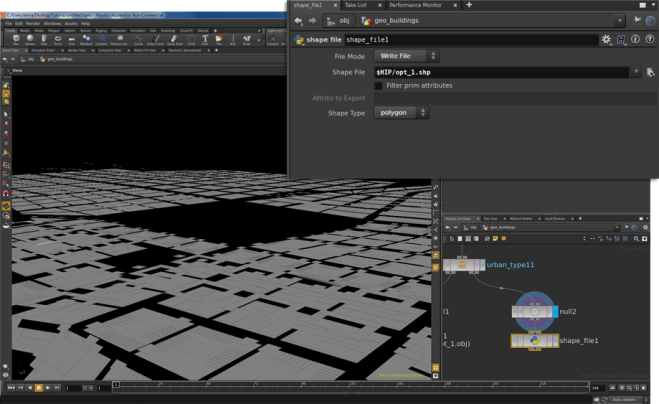
2. Exporting to SHP (for GIS analysis)
Note: If you shifted the plots to the origin in geo_plots, copy and paste the Transform node from geo_buildings before the next step and edit the parameter in the opposite direction. Otherwise, the GIS location of your plots will be exported incorrectly.
Insert a shape file node under the second output of the Urban Type 1 node (see Houdini: Installing HDAs to install the node).
Select Write File as the File Mode and polygon as the Shape Type.
Save the .shp file to your desired directory.
Click on the Display flag of the node to write the file.
Note: The geometry must have at least one attribute to be written as a SHP file. Use the Attribute Create node if necessary.
Continue to QGIS: From Houdini to QGIS to learn how to bring the exported SHP files from Houdini into QGIS for GIS analyses.
